
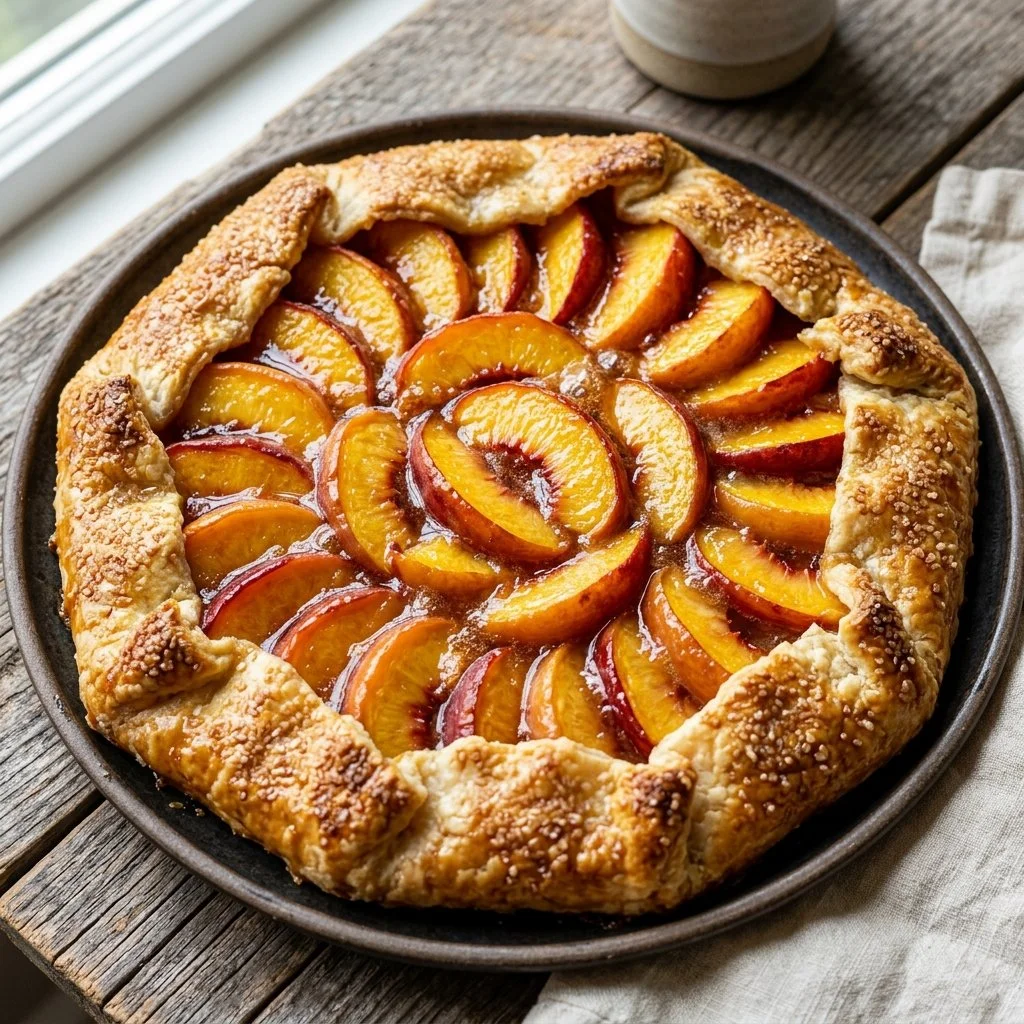
Nothing brings back memories of summer quite like the smell of fresh peaches wafting through the air, intertwined with the buttery scent of a perfectly baked pie crust. Each bite of a peach galette captures the essence of sun-drenched afternoons, where warm hues of golden yellow and soft orange reflect on the horizon, and laughter dances in the air. Growing up, my grandmother would gather us around her kitchen table, sharing stories of her own childhood while we devoured slices of her famous galette. It was a sweet way to connect, and today, it transitions seamlessly from her kitchen to mine.
Whether it’s a special occasion or just a simple weeknight treat, this Peach Galette is effortlessly charming, transforming rustic simplicity into something that feels both homemade and fancy. With minimal ingredients yet maximum flavor, the recipe is both a nod to cherished memories and an invitation to create new ones. Ready to dive in? Let’s get cooking!
Recipe Timing
- Prep Duration: 15 minutes
- Active Cooking: 30 minutes
- Total Duration: 45 minutes
- Portion Size: Serves 6
- Complexity: Simple
Nutritional Recipe
- Calories per portion: Approximately 180
- Protein: 2g
- Carbs: 23g
- Fats: 8g
- Fiber: 1g
- Sugars: 10g
- Sodium: 100mg
Why You’ll Love This Peach Galette
What makes this peach galette truly irresistible? First, it’s about the peaches—fresh, ripe, and sweet, they are the stars of the show. Their natural sugars caramelize beautifully in the oven, mingling with a touch of lemon juice and vanilla to create a sweet and tangy filling that’s bursting with flavor. Next is the crust; tender yet crisp, it’s the perfect vessel for all that deliciousness. The best part? This recipe requires no fancy techniques or equipment. It’s the epitome of rustic charm, an effortless dessert that feels like a warm hug after a long day.
The Complete Cooking Journey
Ready to embark on this delicious endeavor? Here’s how we do it!
Ingredients:
- 4 ripe peaches, sliced
- 1 pre-made pie crust
- 1/4 cup sugar
- 1 tablespoon cornstarch
- 1 teaspoon vanilla extract
- 1 tablespoon lemon juice
- 1 egg (for egg wash)
- 1 tablespoon butter (for topping)
- Pinch of salt
Method:
Step 1: Preheat the Oven
Preheat your oven to 400°F (200°C). This step is essential; a hot oven ensures that your crust will come out perfectly flaky and golden.
Step 2: Prepare Peach Filling
In a large bowl, combine the sliced peaches, sugar, cornstarch, vanilla extract, lemon juice, and a pinch of salt. Mix gently until the peaches are well-coated. The cornstarch will help thicken the juices while baking, preventing a soggy galette.
Step 3: Roll Out the Crust
Roll out the pie crust onto a baking sheet lined with parchment paper. If your pie crust is chilled, it will be easier to handle and will puff nicely in the oven.
Step 4: Arrange the Peach Mixture
Arrange the peach mixture in the center of the crust, leaving a 2-inch border around the edges. Don’t worry about being overly precise; the beauty of a galette lies in its rustic appearance.
Step 5: Fold the Edges
Fold the edges of the pie crust over the peaches, pleating as necessary. This creates a beautiful border and helps to contain the juices of the fruit while it bakes.
Step 6: Prepare for Baking
Beat the egg and brush it over the crust. Sprinkle a little sugar on top for added sweetness and shine.
Step 7: Add Butter
Dot the center of the galette with small pieces of butter. This will add richness and flavor as it melts during baking.
Step 8: Bake the Galette
Bake for 25-30 minutes or until the crust is golden brown and the peaches are bubbly. Keep an eye on it—your kitchen will fill with a delightful aroma that’s hard to resist!
Step 9: Cooling Time
Let cool slightly before serving. This waiting period will help the filling to set a bit, making it easier to slice.
Serving Suggestions & Pairings
Serve this peach galette warm, ideally with a scoop of vanilla ice cream or a dollop of whipped cream. The creamy texture complements the juicy peaches beautifully. For a drink pairing, consider a refreshing lemonade or a lightly chilled white wine. This dessert can take center stage at a summer gathering or simply be enjoyed on a cozy evening at home.
Storage & Leftovers Guide
If you have leftovers (which is a big if!), store the galette in an airtight container in the fridge for up to 3 days. Reheat in the oven at 350°F (175°C) for about 10 minutes to regain that lovely crisp crust.
Kitchen Wisdom & Success Tips
- Choose peaches that are slightly soft to the touch but still firm, as they will continue to ripen while baking.
- If peaches aren’t in season, feel free to use other fruits like nectarines or apricots.
- Use a mix of brown and white sugar for a deeper flavor profile.
- Always check the doneness of your galette; ovens vary, and an extra few minutes can make all the difference.
Flavor Variations & Adaptations
Feeling adventurous? Try adding a pinch of cinnamon or nutmeg to the peach filling for an extra layer of warmth. A sprinkle of slivered almonds or chopped pecans on top before baking can add a delightful crunch. For a surprise twist, mix in some fresh blueberries or blackberries with the peaches!
Reader Questions & Solutions
-
Can I use frozen peaches?
Absolutely! Just thaw and drain them before using to avoid excess water in your filling. -
What if I don’t have cornstarch?
You can substitute it with flour in equal amounts. It may not thicken quite as well, but it will work in a pinch! -
How do I prevent a soggy crust?
Pre-bake the crust for five minutes before adding the filling, or ensure your fruit is not overly ripe. -
Can I make this ahead of time?
Yes! Assemble it a few hours before and cover it with plastic wrap in the fridge. Bake just before serving. -
Is there a gluten-free option?
You can absolutely use a gluten-free pie crust. Many options are available at specialty grocery stores that work well.
Wrapping Up
This Peach Galette has the power to transport you to a sunny day in the countryside with every bite. It’s all about simplicity and embracing what’s seasonal and fresh. So gather your ingredients, invite loved ones over, and create your own sweet memories. After all, there’s nothing quite as comforting as a slice of homemade goodness shared with others. Happy baking!