
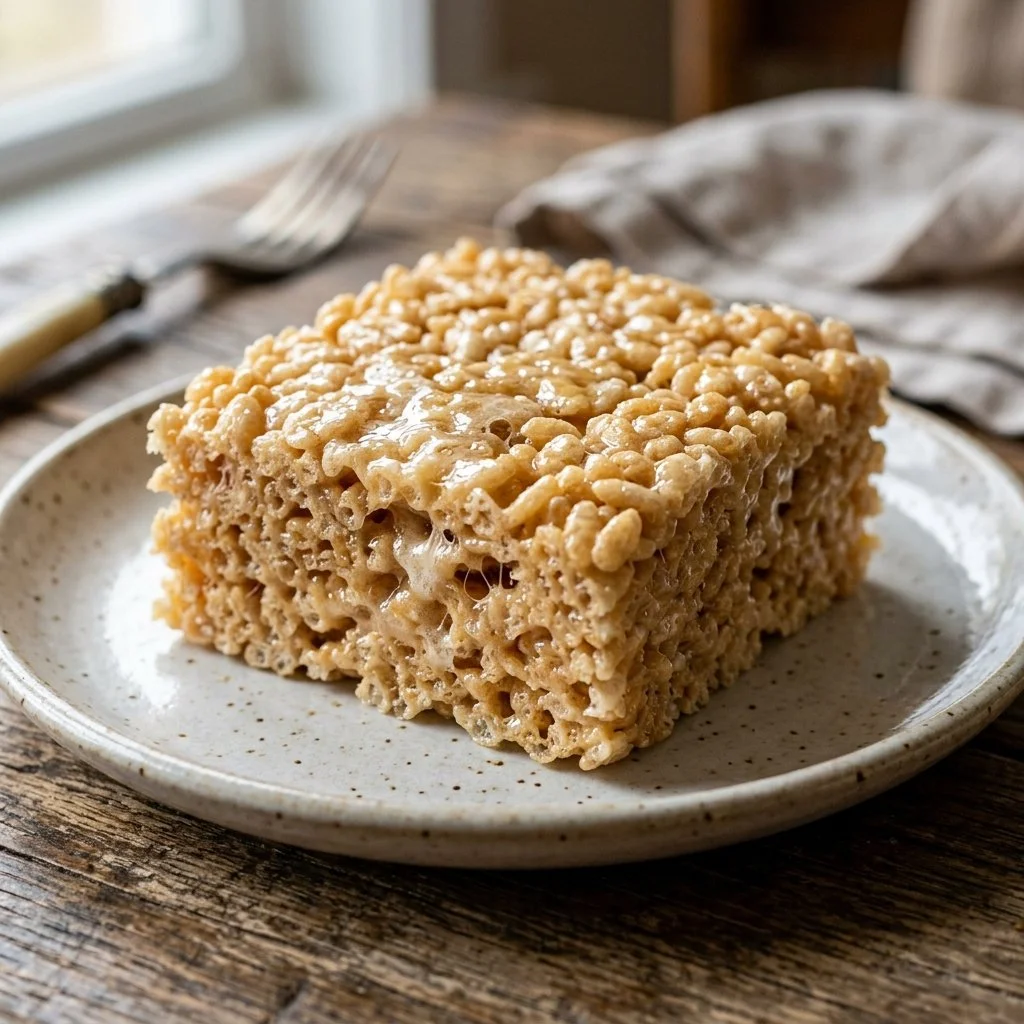
There’s something truly magical about Rice Krispie Treats. Perhaps it’s their nostalgic simplicity that takes you back to carefree childhood days, or the way they effortlessly bring friends and family together for a cozy gathering. I still remember the first time my mom made them—her kitchen filled with the sweet, sugary aroma of melting marshmallows as we eagerly awaited the golden brown squares to cool. These delightful treats are more than just a dessert; they are an experience, a memory folded into each crispy bite. Today, I want to share with you my go-to recipe that guarantees a delightful, chewy texture and a burst of marshmallow sweetness that will take you back to your childhood.
Recipe Timing
- Prep Duration: 10 minutes
- Active Cooking: 10 minutes
- Total Duration: 20 minutes
- Portion Size: Serves 12
- Complexity: Simple
Nutritional Recipe
- Calories per portion: Approximately 130
- Protein: 1g
- Carbs: 24g
- Fats: 3g
- Fiber: 0g
- Sugars: 10g
- Sodium: 75mg
Why You’ll Love This Rice Krispie Treats
These Rice Krispie Treats are the epitome of nostalgia, bringing a sense of whimsical joy with every bite. The combination of crispy cereal and gooey marshmallows creates a contrast that’s not only delightful but also incredibly satisfying. Plus, they’re incredibly easy to make, requiring just a few straightforward ingredients that are usually on hand. Whether it’s for a last-minute dessert, an afternoon snack, or a fun project to do with the kids, these treats fit the bill. And let’s not forget how adaptable they are—there’s really no limit to the types of add-ins you can throw in, making every batch uniquely yours!
The Complete Cooking Journey
Creating Rice Krispie Treats is a delightful journey that’s as simple as it is rewarding. From melting the butter to pressing that sweet, sticky mixture into the pan, each step is filled with anticipation. Soon, you’ll witness the transformation of everyday ingredients into a party-ready treat that everyone will devour. So, let’s get started!
Ingredients:
- 3 tablespoons butter
- 1 package (10 oz) marshmallows (or 6 cups of mini marshmallows)
- 1 teaspoon vanilla extract
- 6 cups Rice Krispies cereal
Method:
Step 1: Melt the Butter
Melt butter in a large saucepan over low heat until it’s fully liquefied and begins to foam just a little.
Step 2: Combine with Marshmallows
Add the marshmallows to the melted butter, stirring constantly until they are completely melted and creamy. This should only take a few minutes. Once they’re all melted, remove the saucepan from heat.
Step 3: Flavor It Up
Stir in the vanilla extract, adding that lovely depth of flavor that complements the sweetness of the marshmallows.
Step 4: Mix in the Rice Krispies
Add the Rice Krispies cereal to your melted marshmallow mixture, folding them together gently until the cereal is well coated and no dry spots are visible.
Step 5: Press It Into the Pan
Pour the mixture into a greased 9×13 inch pan. With a spatula (or your clean hands, if you prefer), press the mixture firmly into the pan so it’s even and compact.
Step 6: Cool and Cut
Allow your treats to cool completely in the pan before cutting them into squares. This step is crucial—it allows them to set properly and makes cutting a breeze.
Serving Suggestions & Pairings
Rice Krispie Treats are delicious on their own, but they can also shine as part of a dessert table alongside cookies, brownies, or cupcakes. Pair them with a scoop of your favorite ice cream for an indulgent treat, or serve them with a cup of warm cocoa on chilly days. For a festive touch, consider drizzling melted chocolate over the squares or adding sprinkles for a pop of color—perfect for parties or celebrations!
Storage & Leftovers Guide
Store your Rice Krispie Treats in an airtight container at room temperature, where they’ll stay fresh for about 3 days. If you want to keep them longer, you can refrigerate them for up to a week, but be warned: they may lose some of that delightful chewiness!
Kitchen Wisdom & Success Tips
- Butter It Up: Grease your pan generously to make removing the squares easier later on.
- Heat Matters: Use low heat to melt your marshmallows slowly; if you rush this step, they can scorch and ruin the flavor.
- Timing is Key: Don’t let your mixture sit too long before pressing it into the pan; it will become harder to shape.
- Perfect Squares: A pizza cutter can make cutting the treats into squares much easier than a knife.
Flavor Variations & Adaptations
Want to switch things up? Here are some fun ideas:
- Chocolate Lovers: Mix in some cocoa powder to the marshmallows or drizzle with melted chocolate.
- Nutty Twist: Stir in some chopped nuts or nut butter for added flavor and texture.
- Fruity Fun: Add mini chocolate chips or dried fruit to the mix for a delightful surprise.
Reader Questions & Solutions
- Can I use different cereal? Yes! Feel free to experiment with other cereals, such as Cheerios or Cornflakes.
- What if I don’t have marshmallows? You can use marshmallow cream, but keep the proportions in mind. Use about 2 cups of cream to replace a full package of marshmallows.
- How do I prevent them from being too hard? Be sure not to overcook the marshmallows. Keep the heat low and remove them as soon as they’re fully melted.
- Can I freeze Rice Krispie Treats? Absolutely! Wrap them tightly and freeze for up to 3 months. Thaw at room temperature before serving.
- What’s the best way to cut them? Use a sharp, greased knife or a pizza cutter for clean cuts.
Wrapping Up
As you embark on your Rice Krispie Treat adventure, remember that cooking is about joy, creativity, and sharing. These treats are not just about the ingredients, but the smiles they bring to those who enjoy them. So grab your ingredients, channel that inner child, and dive into the magic of making these delightful treats. After all, life is sweeter when you make it together!